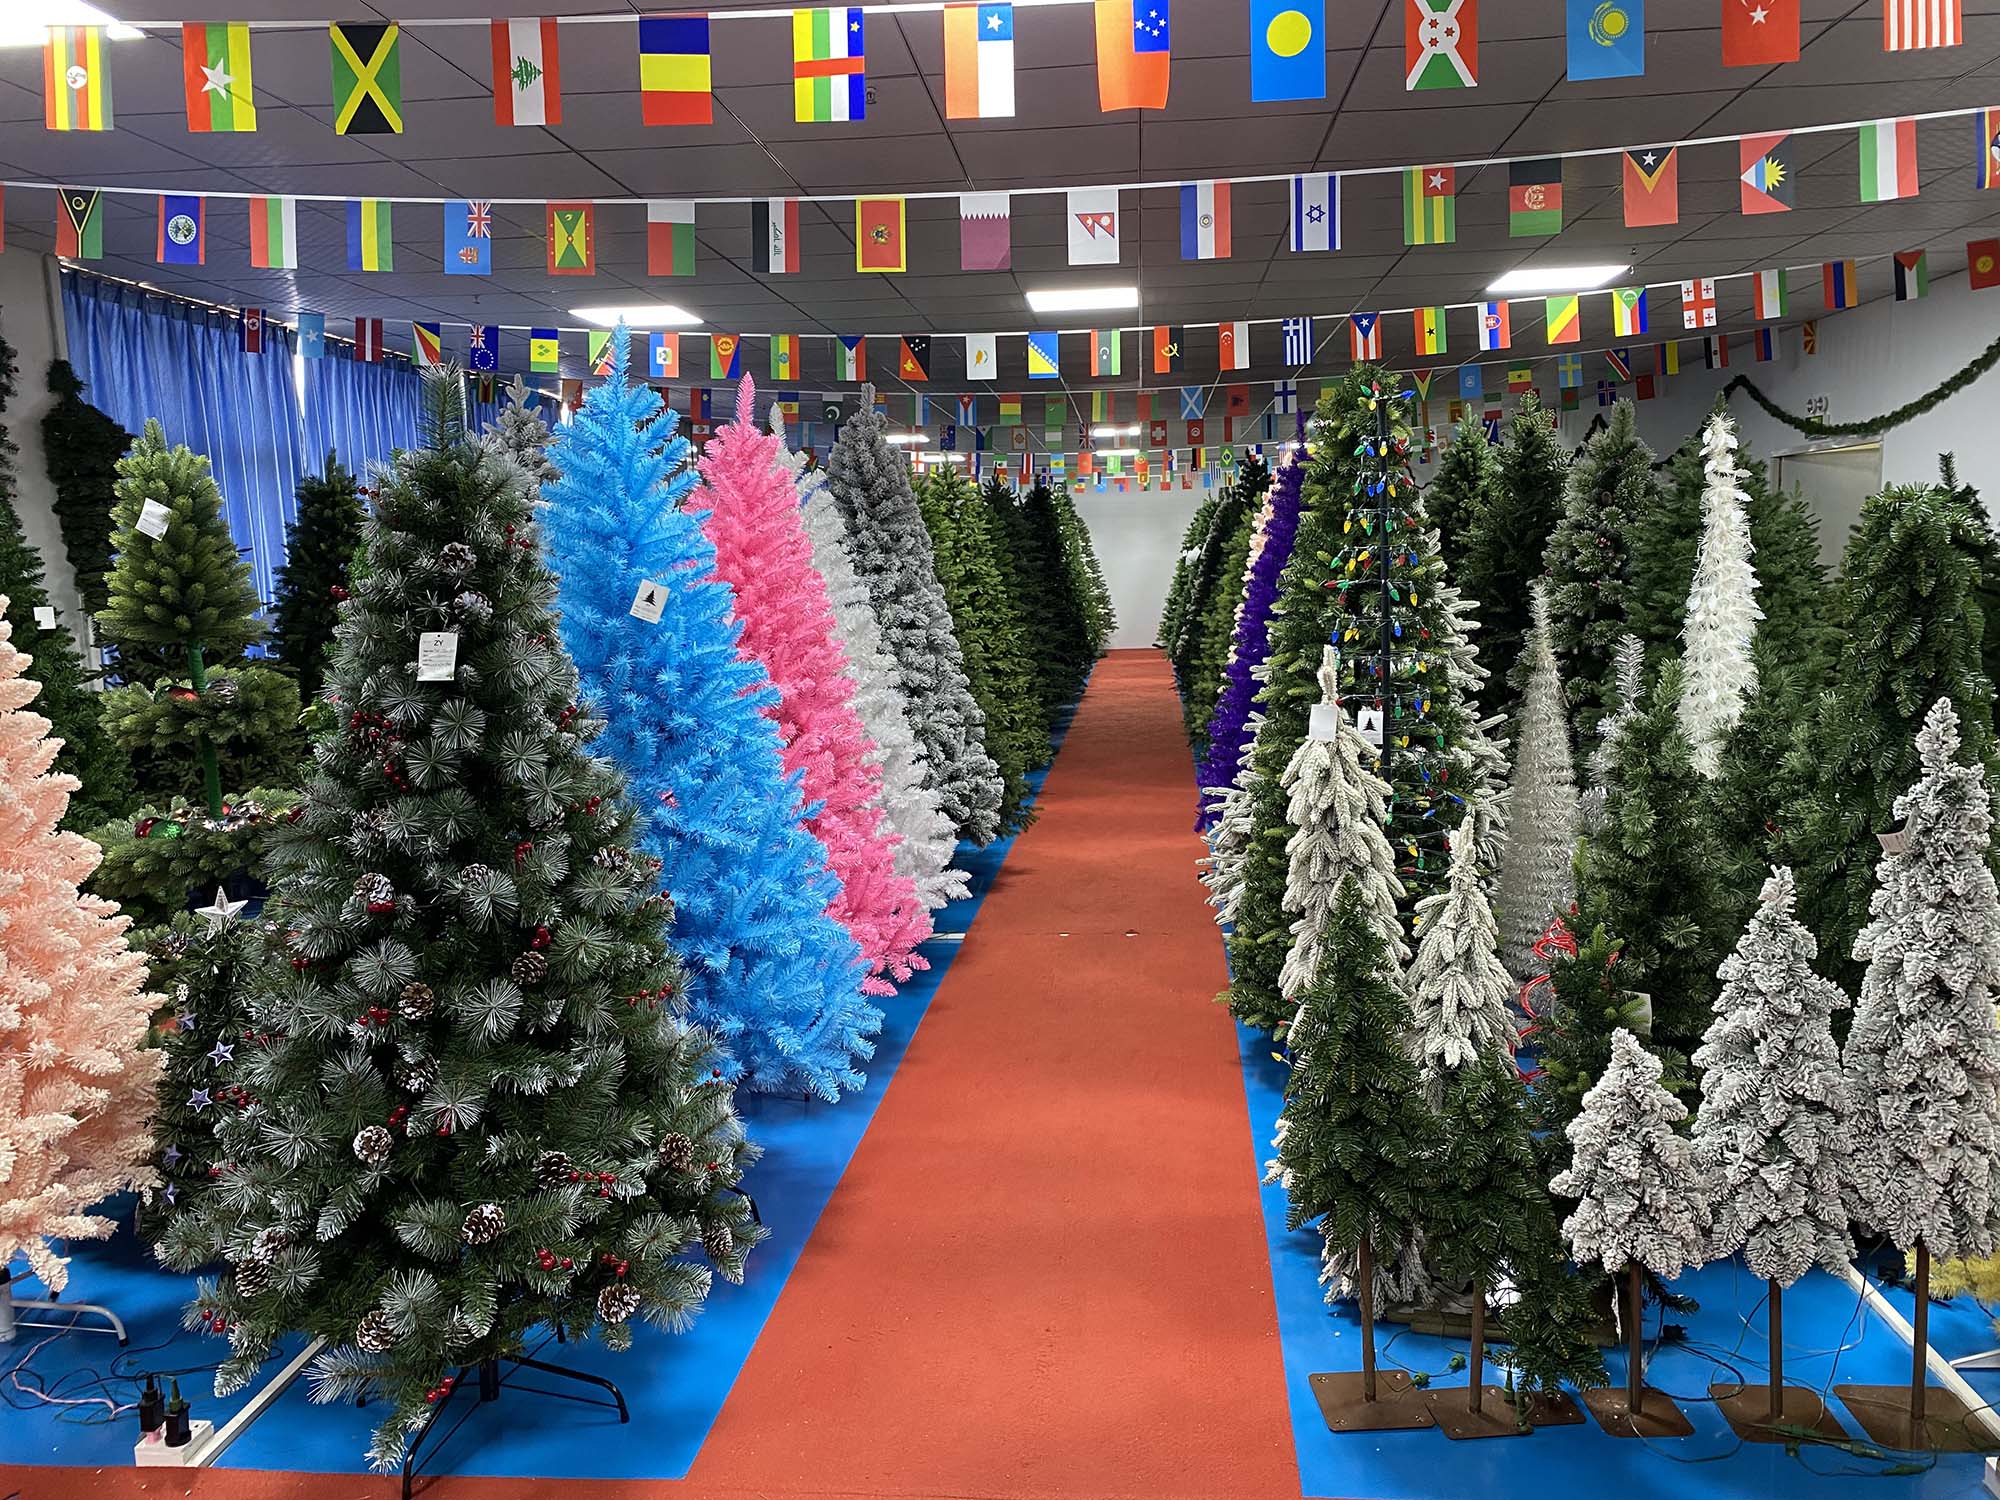

How to get snow look on Christmas tree
Winter DIY: How to Get a Snow Look on Your Christmas Tree
❄️ Bring the Alpine Blizzard Indoors: Three Easy Methods for Flawless Holiday Frost ❄️
There is nothing quite like the charm of a snow-dusted evergreen to make your living room feel like a cozy mountain cabin. But if you priced out brand-new "flocked" artificial trees this year, you probably noticed that luxury snowy trees come with a massive retail price tag.
Don't worry—you don't need to throw away your perfectly good green tree to get that high-end alpine look. With a few affordable crafting supplies and a weekend afternoon, you can easily transform your existing tree. How do you get a flawless snow look on a Christmas tree?
Whether you want a temporary frost that wipes off after the holidays or a permanent, heavy snowdrift effect that lasts for years, here are the three absolute best methods to do it yourself.
Method 1: The Gold Standard — Flocking Powder (Permanent & Realistic)
If you want that authentic, thick, three-dimensional crunchy snow look found on premium designer trees, your best bet is **Self-Adhesive Flocking Powder** (available at most craft stores or online).
- Mist the branches: Fill a clean spray bottle with warm water and generously mist a section of your tree. The water activates the glue built straight into the powder.
- Sift the snow: Place the flocking powder into a kitchen sifter. Shake the sifter over the wet branches while simultaneously misting the falling powder with your water spray bottle.
- Focus on the tops: Always apply the powder from directly above the branches. In nature, snow falls straight down, sitting heavily on the tops of the boughs while leaving the undersides green.
- Lock it down: Once you achieve your desired thickness, give the section one final, gentle mist of water to seal the glue. Let it dry completely for 24 to 48 hours before adding decorations.
Method 2: The Fast Track — Aerosol Snow Spray (Easy & Removable)
Want a quick, beautiful frosted look without mixing materials? Holiday Snowflake Aerosol Spray Cans are an incredible alternative. The best part? Most brands are completely removable with a damp cloth if you change your mind next year.
- Shake and test: Shake the aerosol can vigorously for at least 60 seconds. Test the spray stream on a piece of cardboard first to ensure it doesn't sputter.
- Stand back: Hold the can roughly 12 to 18 inches away from the tree. If you get too close, the blast will create unsightly liquid puddles instead of light, fluffy frost.
- Sweep across the canopy: Spray in a gentle, rhythmic, sweeping motion from the top of the tree down. Focus extra attention on the outer tips of the branches where frost naturally accumulates.
Method 3: The Budget Friendly — White Paint & Foam Brush (Permanent & Clean)
If you want a highly controlled, zero-mess application that won't flake or shed over the years, you can use basic **Matte White Acrylic or Latex Paint**.
- Dry brush technique: Dip a cheap 2-inch foam craft brush into pure white paint. Dab the brush heavily on a paper towel until it is mostly dry to the touch.
- Stroke the tips: Lightly swipe the foam brush horizontally across the top tips of the plastic pine needles. The paint will naturally adhere only to the outer ridges, creating a beautiful, frosted morning-glaze effect.
The Final Verdict: Which Method Wins?
If you want a heavy, ultra-realistic winter blizzard look, invest a little extra time into **Method 1 (Flocking Powder)**. If you are styling a temporary setup or renting an apartment, stick to **Method 2 (Aerosol Spray)** for a quick cleanup. No matter which path you choose, your tree will reflect holiday light beautifully, turning your home into an enchanting winter sanctuary!
Related Article